7.30.2014

style | our fall favorites

I can't get enough of all the lovely clothing hitting store shelves now that Fall is almost here. I am counting the days until our State Fair because (1) it means I get to eat unlimited mini donuts and share them with my sweet girl then kiss the sugar off her cheeks and (2) it means I no longer need an excuse to break out pumpkin-everything in our house because the end of the Fair = the beginning of Fall.

Today I rounded up a few of my favorite pieces for your little lady this Fall.


1. 2. 3. 4. 56. 7. 8. 9. 1011. 12. 13. 14. 15.

I adore the Vintage-inspired Football Tee from J.Crew (1.) and am sure it will be a staple for Olivia in the coming months. It's neutral so it will pair well with everything but the gold detail on the arm keeps it classy and sophisticated.

The Floral Peter Pan Dress (2.) has been on my radar since the new collection was released at Gap and I simply cannot wait to get Olivia in it. It will be perfect for Sundays at church and Fall photos.

I couldn't get the Squirrel Top (4.) in my cart fast enough, as Olivia loves seeing the squirrels run and play in our backyard. I can't wait to pair it with denim and mustard accessories.

The Marled Moto Jacket (6.) is a must-have for the often chilly falls we have here and I love the side zip detail. 

The Floral Long Sleeve Top (9.) comes in a variety of colors and will be perfect paired with leggings and cozy infinity scarves. It's only $12.95 and if you're a gap card holder you can get it 40% off, making it only $7.70!

The Marled Pleat Dress (12.) is very similar to a dress Olivia had last Fall. It was our go-to dress for everyday wear because it was cozy and could be accessorized in every which way. I'll definitely scoop one of those up for this Fall again because I know we'll get so much use out of it.

The items from J.Crew (1. 11. 14.) are on sale with an additional 40% off & free shipping || All of gap.com is on sale as well (35% off total purchase or 40% off total purchase for cardholders & free shipping over $50). 

Happy Wednesday!

7.25.2014

coconut quinoa granola with chia seeds & maple syrup

I have been on the search for a healthy & hearty granola for quite some time. Traditionally, while often thought of as a "health food," most granola is simply sugar + empty carbs with little nutritional value. The key is finding one that packs superfoods into it but that still has the full flavor many all of us crave. And as a busy Mama, some mornings all I have time for is a quick bowl of granola before V and I dash out the door on our morning adventure. 

Plus, a lazy Saturday morning in bed with a bowl of homemade granola, a stack of picture books and a pajama-wearing toddler next to you...really, that is what weekends are about.


This recipe is a new favorite in our home -- my husband has been devouring it plain and atop greek yogurt, and I've been enjoying it with cold milk in the mornings alongside scrambled eggs. Olivia has even gotten in on the action and tried a bite, though her expression didn't say too much other than "Huh? What is this?"

But seriously, this granola is the bee's knees. Baked until crunchy and golden brown, it is packed with quinoa, coconut, flaxseed & sliced almonds, and finished with chia seeds & coconut butter, plus maple syrup for sweetness. The coconut flavor itself isn't overpowering but adds just the right punch & the quinoa makes for a surprisingly yummy flavor profile alongside the crunchy chia seeds and toasted almonds. Serious yum. 
[Plus it's gluten free + refined sugar free. Double yum!]
coconut quinoa granola with chia seeds & maple syrup
makes: approximately 4 cups
what you'll need
2 cups rolled oats || uncooked*
1 cup white quinoa || cooked + cooled*
1/4-1/2 cup golden flaxseed || ground
1/4 cup chia seeds 
1/2 cup sliced almonds
1 cup unsweetened shredded coconut
1/2 tsp salt
2/3 cup maple syrup || real maple syrup
2/3 cup coconut butter (or coconut manna) || I used Nutiva brand coconut manna
1 tablespoon high quality vanilla extract 

small saucepan or butter warmer
baking sheet
parchment paper
wooden spoon or spatula

*You could also increase the oats to 3 cups + quinoa to 2 cups, which I plan to do the next time just to make a bigger batch since it doesn't last long in our house!


what you'll do
» preheat oven to 325 degrees + line baking sheet with parchment paper

» in a large bowl, combine: oats, quinoa, ground flaxseed, chia seeds, sliced almonds & unsweetened coconut; add salt and stir

» in a small saucepan, melt coconut butter; add maple syrup and stir to combine; add vanilla

» pour coconut-maple mixture over oat mixture, being sure to coat evenly & completely

» spread onto baking sheet evenly in single layer
» bake in increments of 10 minutes and stir in between, being careful not to break up clusters that have formed [because we all know the clusters are the best part]

» after 30-40 minutes, granola should be almost golden-brown; mine took about 50 minutes with 4 breaks to stir it

» once golden brown, let cool completely || store in airtight container or glass jar & enjoy!


happy, happy weekend. 

7.22.2014

the fintorp | simple & inexpensive way to transform any wall in your home

I am always on the lookout for simple ways to transform walls in our house, especially the small walls that don't serve much of a purpose but that you see every day. [Okay, other than the purpose of holding the house up]. You know, the white ones that have nothing on them? The walls that you look at and wish something was there but you just can't come up with the right thing? Well, we were there once. In fact, we were there just two weeks ago. Dustin and I stood in the kitchen and stared at the dividing wall between our kitchen & dining room: White. Empty. Boring. Inadequate size to do anything too fancy, but still large enough that something had to be done. 

Cue, the Fintorp.


If you haven't heard of it, the Fintorp system is a rail-based organizer which includes hooks, wire baskets and metal buckets. You can arrange them in any way you want -- keep it super simple or get pretty fancy. They can be connected for long rails to run across entire rooms, or kept single for shorter rails in a stack the way we have in our kitchen.

The Fintorp is available from IKEA both in store and online and is fairly inexpensive. There are several ways to customize it and the Fintorp can really function in any room of your home. We have ours in the kitchen, but I think one in a nursery over a changing pad would be great to fill with diapers, wipes & the other supplies you use every day if you don't have dresser space. One would be equally as darling in a playroom at a reachable height for young children, and could be filled with favorite toys or art supplies. It would also serve well in a bathroom or laundry room, using hooks to hang towels and washcloths. 

The list goes on and on, but the point is: if you don't have a Fintorp in your home yet, you should. In just half an hour, we transformed our empty kitchen wall to be one of my favorite spots in the house! 


With a sleek, modern look, the Fintorp was the perfect answer to our empty wall. 


Side note: I have been searching for years for the perfect mug rack...garage sales, antique stores, just about everywhere I could think of. Time after time, nothing. I really just wanted one so I could have the excuse to collect colorful, eclectic mismatched mugs and display them somewhere in our kitchen. I love the idea of mismatching mugs because you can choose a different one every day. Matching mugs are highly overrated, but for now that's all we've got. 

Of course, if you know us, you are probably laughing because you will know we aren't coffee drinkers. We don't even own a coffee maker! In fact, if I'm being completely honest...I don't even know how to operate a coffee maker! But on occasion I am a tea drinker, and regardless, I use mugs for ice water, iced tea, icecream, you know...that type of thing. Icy things. 

Below are the details of our Fintorp but you can certainly make it your own depending on the room you are using it in and the size of your wall as well as the intended purpose. 


what you'll need || 

» Fintorp Rails | These come in two colors: black or nickel plated [above] & two lengths: 22.5 inches [$8.99] & 31 inches [$9.99], but they can easily be connected if you want to run a rail across a long wall. We chose 31 inches simply because of the size of our wall, but if you need larger just connect two of the 22.5 inch rails using a single bracket. 

» Matching Hooks | You purchase these separately from the rails themselves, and they are sold in packs of 5 for $2.99. If you want longer + larger hooks than the standard size, they are available in packs of 2 for the same price here.

» Optional Accessories | If you want to add wire baskets or a small galvanized bucket, you can certainly do that. We opted to keep it simple with nothing but hooks just because I intend to hang mugs and my favorite dish towels on it.

» Drill + Screws or a Hammer + Nails | For hanging it up!


what you do ||
» Once you have all the necessary pieces for your setup, unwrap everything and start first by deciding how far apart you want the rails to be. We chose to have ours 10 inches apart to accommodate various sized mugs, but you could put them closer together. If you are just hanging one rail, you don't need to determine spacing but should consider the height itself. 

» Next, determine how far in you want the bracket. We placed ours 1 inch from the end of the rail, but you can customize it to your preference. Two brackets are included with each rail, and they are each two parts -- the front part you see and a thin flat "back bracket" piece that you will ultimately use to secure to the wall. Tiny screws are provided for attaching the two bracket pieces together but by using the back piece before attaching them, you can get an exact idea of where to put your screws or nails.

» Using the back bracket piece [before attaching], hold it up in place where you want your rails hung [one inch in if you are following our layout] and mark in the center with a pencil. Do this on both sides and then put screws in wall. Attach the two bracket pieces together using provided screws. This is very self-explanatory but we didn't know it would be helpful to wait to attach the pieces, so I sat and attached them all and then Dustin had me take them apart to use as screw guides. 

» Next, slip the brackets onto the wall, slide in your rail, add your hooks & put the end caps on. Secure your rail using the provided allen [hex] wrench. 

» Finally, hang your mugs, towels, accessories and more on the hooks! Rearrange as desired and step back to enjoy the transformation! I still catch myself admiring our "new" wall and love how it turned out and how easy it was! For the setup we have with three rails and 15 hooks, it cost approximately $40, which is significantly less than a fancy shelving unit, and way, way better!!

I think it would be so much fun to have a Fintorp hanging in a kitchen, dining room or living room with galvanized buckets filled with succulents, herbs, or any small plant, or to hang one in a mudroom for jackets and bags to grab on your way out the door. No matter how you use it, it adds function and style to your home and offers the opportunity to get both organized & creative!

I'd love to see how you transform a wall in your home with the Fintorp system or to hear any other ideas you have below! We are so happy with ours and I am already planning on where we'll rig our next one!
7.16.2014

DIY || rustic blanket ladder

Dustin & I made it a goal to complete two DIYs per month for the rest of the year. In May we finished a large basement bathroom renovation, we are just about done with our laundry room reno and then in August we I hope to renovate our master bath. But between the big time-consuming projects, there are so many simple ways to dress up your space and make your house a home. Whether by hanging new artwork, updating light fixtures, rearranging furniture, painting, organizing, or creating something that you've needed but never found...its amazing how such simple projects can make such a difference!

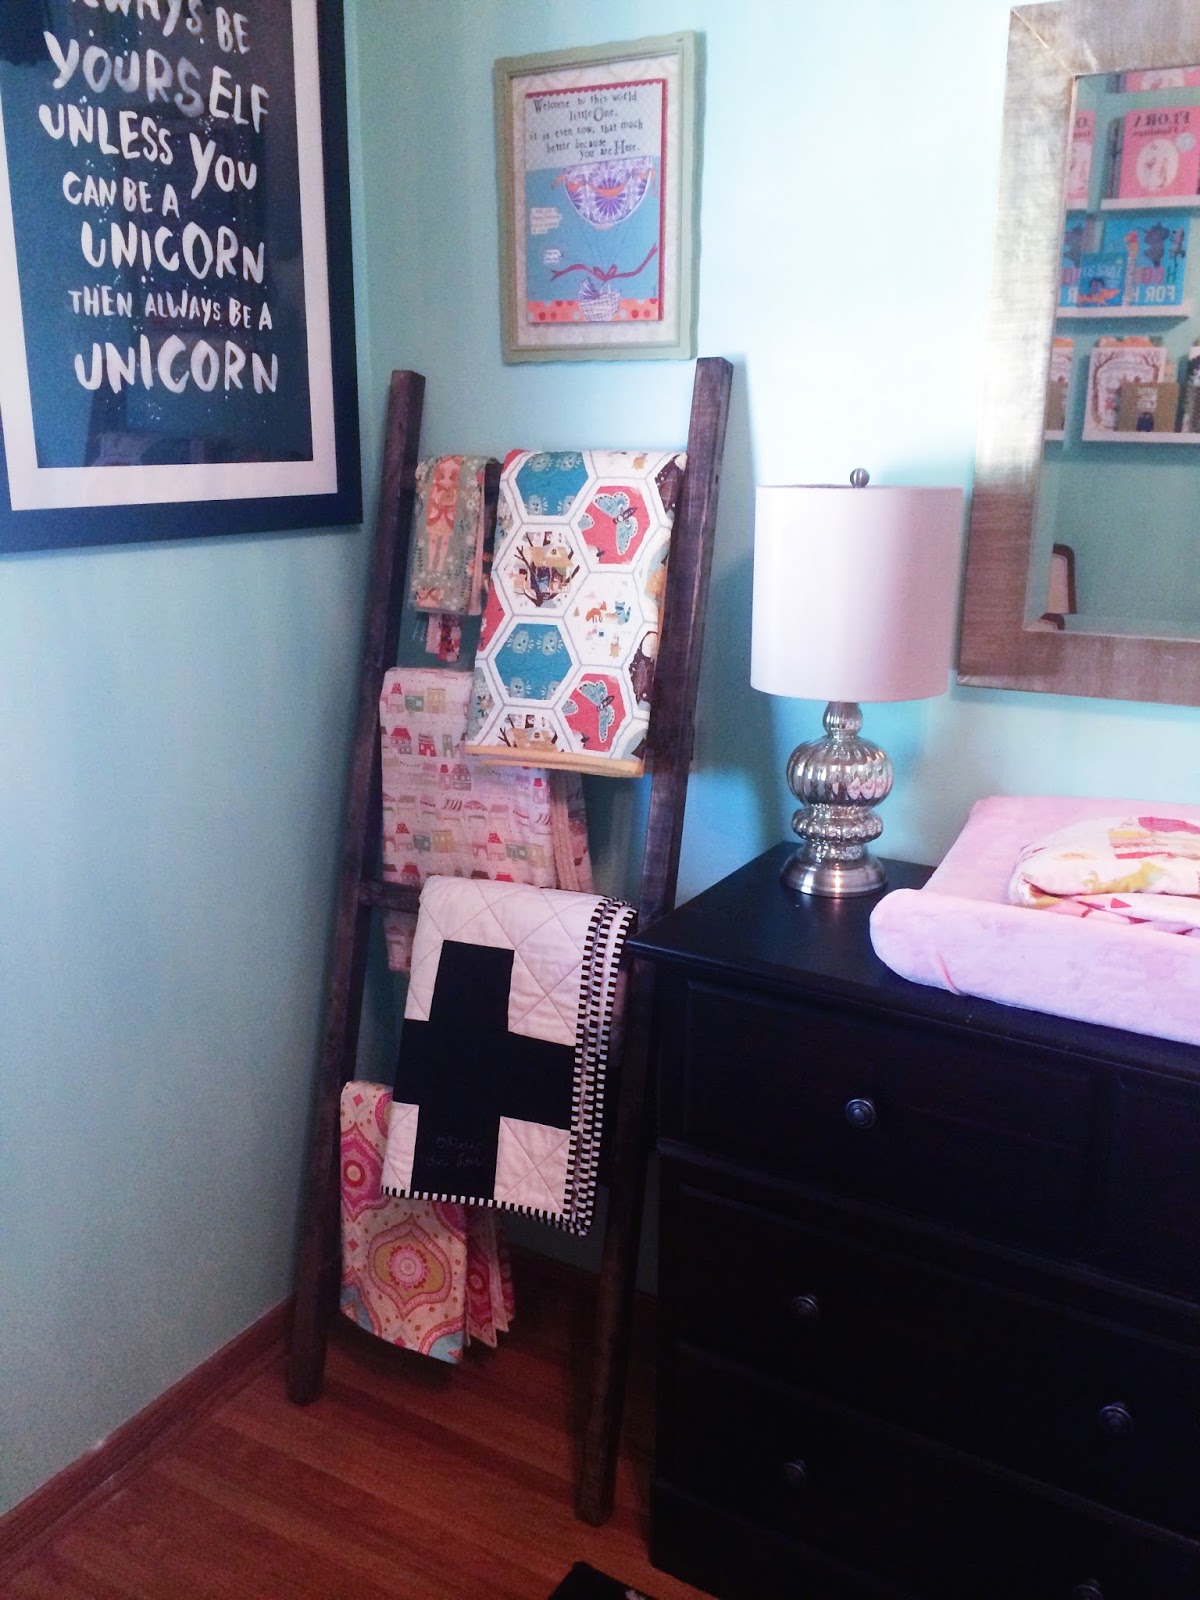
I've been wanting a blanket ladder for Olivia's nursery for quite awhile now. Between all her special blankets and her beautiful birthday quilt, I wanted a way to display them on a daily basis when she wasn't using them. This especially is true in the summer, because its way too hot for blankets in our neck of the woods until about mid-September.

This is such a simple project that costs only pennies to make. It is a great DIY for beginners because there are only a few steps and it really is impossible not to succeed. Plus, many stores sell blanket ladders for well over $100 and you can make yours -- even customize it to your preferences [height, width, stain, etc.] for next to nothing! The best part? It can easily be completed in an afternoon, and those projects are my favorite. 
When I get an idea in my head, I don't want to wait! 


what you'll need || 

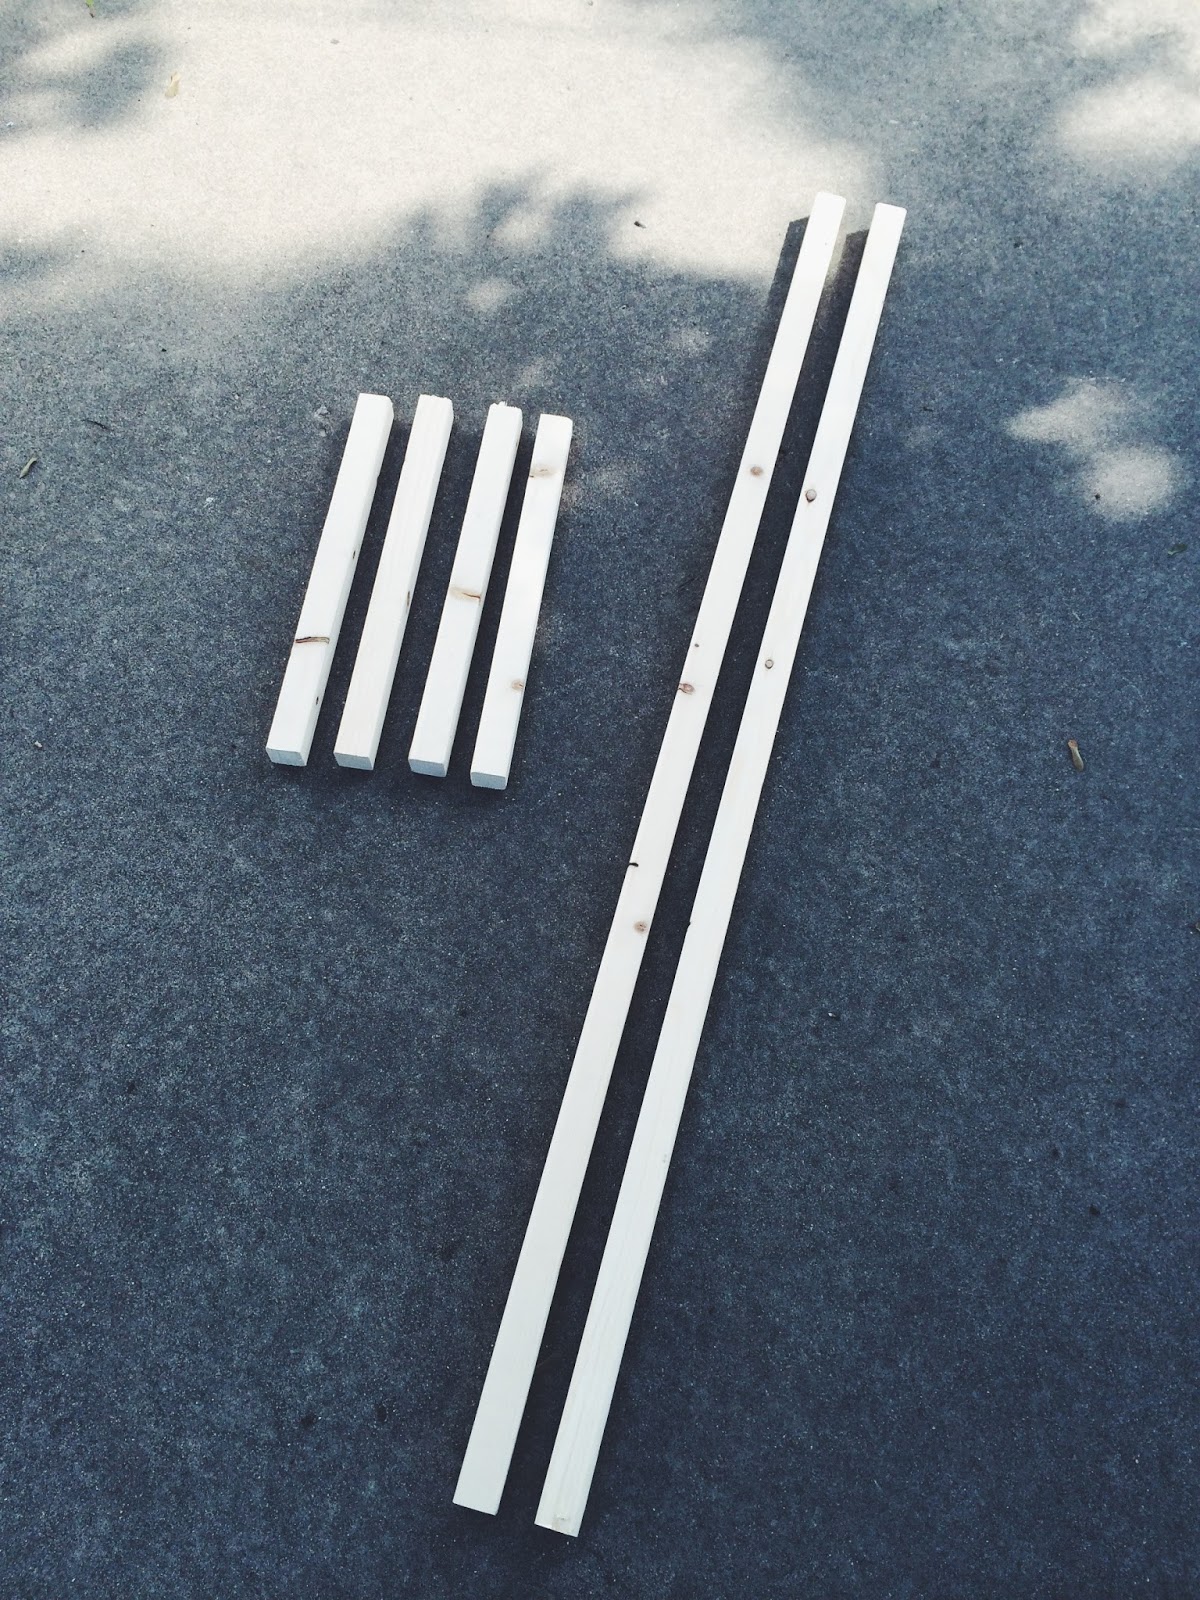
(2) 8 foot 2x2s || 16 feet of wood total
(1) 8 oz can of stain of choice || We used ASH by Varathane because it created a more rustic vintage look
(1) Rag for staining || We used an old t-shirt
(8) 3 inch screws
Drill

what you do ||

1. Cut one 5 foot piece of wood from each of your 8 foot pieces || You will end up with four pieces -- (2) 5 foot pieces & (2) 3 foot pieces

2. Next cut each 3 foot piece in half to be 18 inches || Be sure to be exact when measuring and cutting

(4) pieces, 18 inches each + (2) pieces, 5 feet each

3. Lay them out on the ground to form a ladder || I arranged them with the prettiest wood characteristics [knots + chips] to show & we put each rung 12 inches apart but started 18 inches from the ground to allow for a blanket to hang on the bottom bar [Make pencil marks for screw locations at measurements]


4. Using a drill, screw each rung into place.

5. Finish using stain of choice, being sure to completely cover wood

6. Keep in mind that most stain dries within an hour but we allowed ours to dry overnight before hanging blankets from it.


This simple blanket ladder costs less than $10 to make and adds both character and function to any room of the house. We have ours in Olivia's nursery holding her special quilts & blankets but plan to make another for our basement soon!

7.15.2014

grilled angel food cake

Summer nights are for grilling out and entertaining, and in my opinion, no dinner is complete without dessert. We love to have friends and family over a few times each week and I am always trying to find creative ways to incorporate the perfect finish to our evening. In the summer, the easier, the better.

Our go-to dessert the past few weeks has been s'mores of course, but this past Sunday night for our family dinner I wanted to get a little creative and take our dessert up a notch with grilled angel food cake.

the perfect mix of airy cake with mild grill marks and lightly sweetened cream & berries, this summer dessert is sure to become your new favorite || the grill creates a subtle warmth in the cake, almost toasting it and bringing out the flavors, yet the cake stays moist and light as air throughout

grilled angel food cake

what you'll need || 
» angel food cake, sliced [one large piece per person] -- you can make your own from scratch, use a box mix or pick up a pre made cake from your local bakery or grocery store
» fresh whipping [heavy] cream + 1-2 tbsp sweetener of choice [we use raw coconut sugar]
» fresh berries [strawberries are traditional but you could definitely sub blackberries, raspberries or blueberries]

what you do ||
» once your angel food cake is made and completely cooled, carefully remove it from pan onto a large plate and slice; with the thickness I cut ours, one cake made 8 large wedges
» using a stand mixer on high speed, whip heavy cream until desired consistency and add sweetener to taste
» place cake slices on grill [low-medium heat] for about 90 seconds each side until light grill marks appear [I didn't even close the grill lid, I just stood there because it goes so quick]
» remove from grill & serve alongside fresh whipped cream & berries
» then try to each just one piece because it is seriously divine


so simple, so delicious & so perfect for a night on the patio. enjoy!

7.07.2021

4th of july weekend recap

Hope all of you had a wonderful holiday weekend! 
Ours was truly one of the best of the year! We enjoyed a lot of warm weather, sunshine, delicious food, family, time to relax & of course, special time as a family of 3.

On Thursday afternoon we took a nice long walk with Olivia to where Dustin proposed three years ago. The sunshine was out & her bonnet was on. Basically, a perfect combination.

Navy Stripes Bonnet c/o Briar Handmade

After our walk we had a mini date night...our favorite BBQ & time together just the two of us. It was the perfect way to kick off the long weekend ahead!


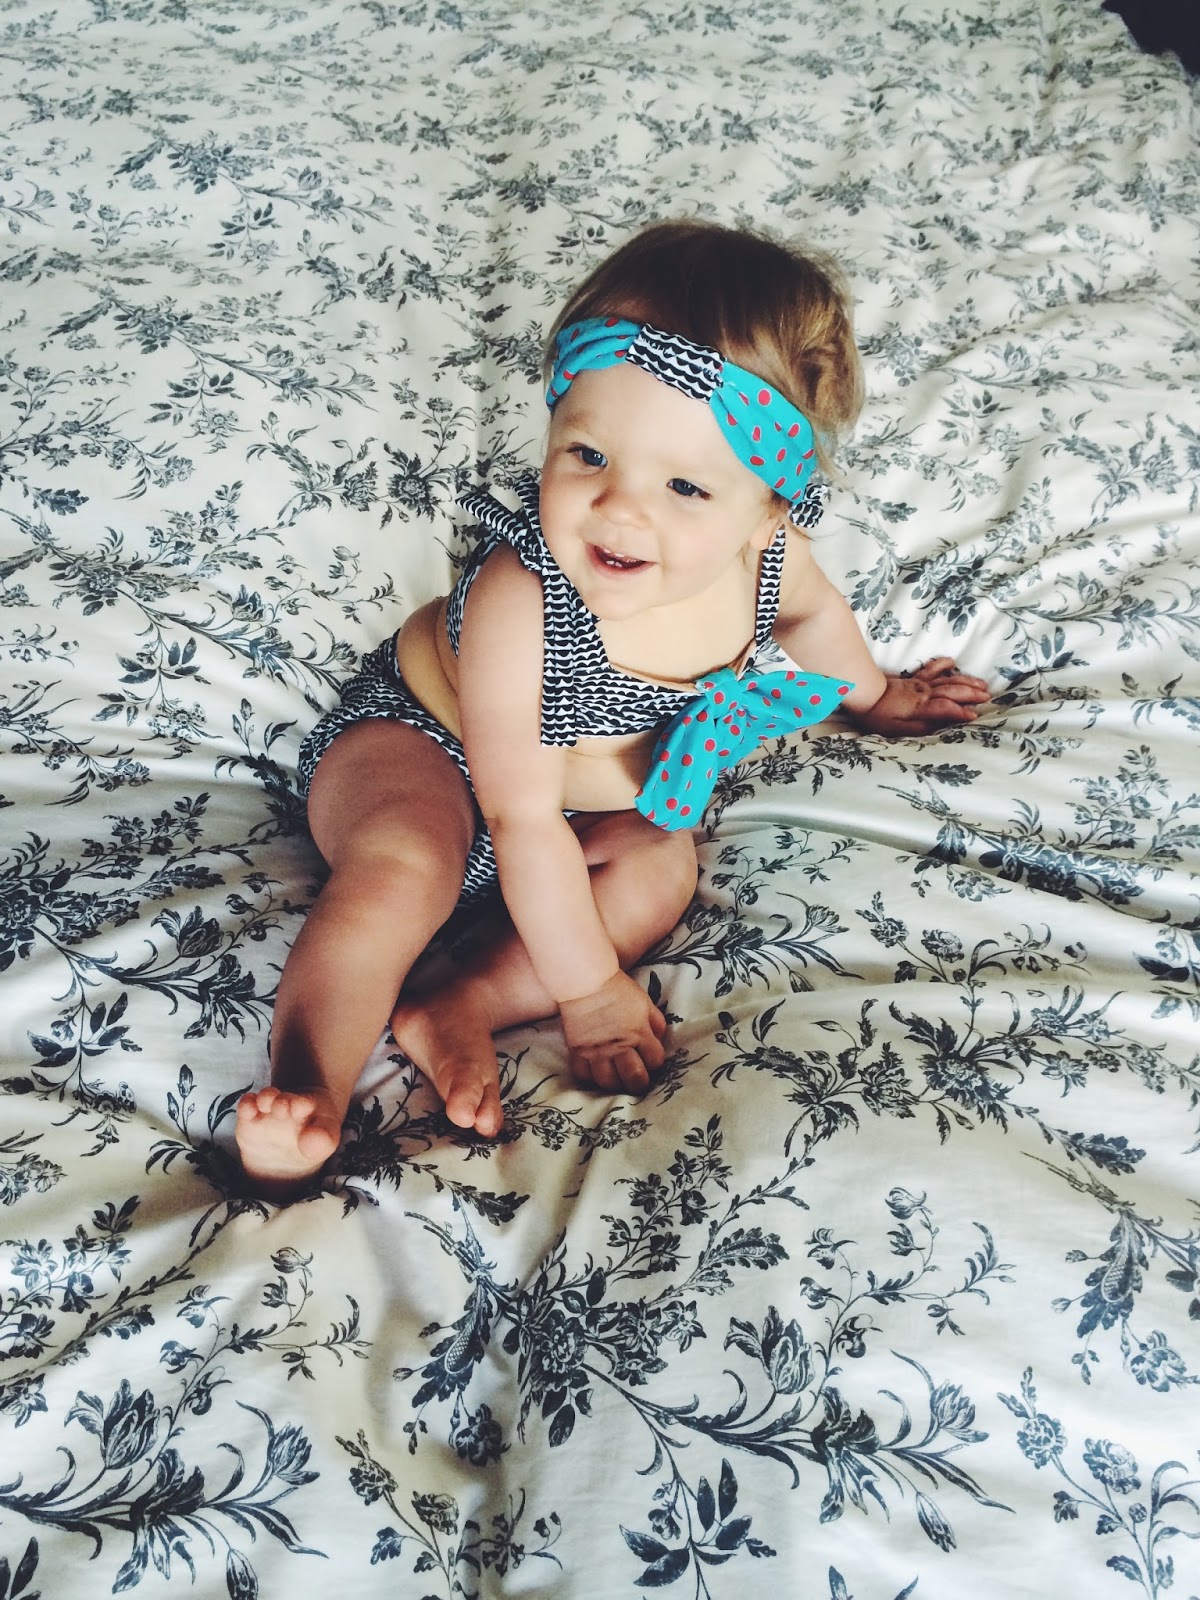
Dustin of course had work off on Friday the 4th [three cheers!] so we spent the day at my parent's pool. Olivia rocked her new bikini but was more interested in sitting on a towel poolside eating snacks than actually getting in the water. 

high waist bikini c/o la pina children's | swim turban


We enjoyed frozen lemon bars at the pool and then walked around to feed some baby ducklings at a nearby pond, which Olivia of course loved.


After a few hours at the pool, it was nap time for V. We headed home and relaxed while Olivia napped for 4 hours straight [a new record]. It was glorious. About two hours into her nap, my family came over for a big cookout. We grilled salmon, asparagus, chicken brats & of course enjoyed some juicy watermelon. No 4th of July is complete without it!

Being that it was the 4th, a bonfire was nonnegotiable. Sitting outside in our backyard having a fire and making s'mores has become our go-to summer activity in the evenings. Dustin got creative and invented the "s'more tower," as he calls it. Roast 3 marshmallows, put two in between the grahams with the chocolate and then top the s'more with the third. Ahhh-mazing. Toasty marshmallow in every bite.


On Saturday, we slept in [the other nonnegotiable weekend] and then headed to my Mom's for a big brunch -- complete with chocolate chip & blueberry pancakes with fresh whipped cream, parmesan potatoes & bacon. Divine. We planned to head to the lake afterward but since the weather was perfect and we were already there, we spent the day at the pool again. I enjoyed a solid 30 minutes of uninterrupted floating in the pool. I didn't think I could be that relaxed ever again. 
And now it goes without saying that "pool floating" is on the agenda for every single week left of summer. 


At Grandma's house, while we made brunch, Olivia had a blast playing with my American Doll from childhood. She sits on a chair in the kitchen and as soon as we arrive, Olivia always go straight for her. It's so much fun for me to watch Olivia play with the same toys and dolls I played with as a little girl.

We spent Saturday afternoon rearranging our guest bedroom [so much fun!] and then Saturday night was another dinner from the grill, and it may have been the best meal we've had all year. It was that good. Steak, asparagus & sautéed mushrooms & onions. There is something so good about simple, whole food that is packed with protein and delicious flavor. 


As we were sitting outside on Saturday night, I noticed [surprisingly, for the first time] that we have the perfect pair of trees in our backyard that were just begging for a hammock. 


So on Sunday after church, we stopped by REI and chose the ENO Double Nest in Black/Khaki. Dustin is an REI member so we got it at a great price and it is the most amazing thing ever. Sunday afternoon and evening is mostly a blur, because I spent the better half of the day reading and napping in the hammock while Dustin tended to Olivia. We enjoyed chipotle on the patio, my parents stopped by for a fire & I ended up in bed at 10:30pm which never, ever happens.


Olivia is napping & I'm blogging from the 'mock, swaying in the breeze. I told Dustin I don't think I'll ever get out. But I suppose I'll have to, because making dark chocolate muffins & going to the park is on this afternoon's agenda. Happy Monday!

7.02.2022

favorite reads for the first year

Olivia is a little bookworm. The first thing she does in the mornings when she wakes up is sit in her crib and read books. Between a basket of toys and a stack of books, the latter always wins. She so sweetly turns page by page, talks to herself and giggles. I love imagining that she is reading aloud for all to hear. 

One of our favorite things to do during the day together is spend mornings in cozy little book stores looking through all our favorites and finding new ones too. So I wanted to share a list of our favorite reads for the first year. In many of her books, I write a letter inside the front cover to her, sharing a memory, my thoughts or just reminding her what I love most about her. 

A child will never outgrow a story and books will always be in style. Clothes get worn, colors fade; toys may become boring and obsolete. But books, they are always treasured. I still have books from when I was a little girl and love how worn the covers are, how each page sparks a memory of mine from childhood, and how stories and words bring imagination and creativity to life. For us, they are always worth they investment & I especially enjoy shopping at tiny book stores and supporting small businesses.


Olivia’s Favorite Picture Books


Books for Spring


Books for Summer

Our Favorite Classic Children’s Books

Olivia’s Favorite Puzzle + Bath Books


My Mom gave us "Soft Shapes: ANIMALS" when I found out I was expecting back in September 2012. The Soft Shapes series is made for the bathtub, but Olivia loves them outside of the tub too. They are hands down her favorite books/toys. Each has four shapes inside that fit into a puzzle of sorts with one per page. She loves to take them out and put them back in. After seeing how much she loves them, we gave her DUCKS for her 1st Birthday and then I picked up OCEAN last week. These are so much fun!

Our Favorite Board Books:

Best Books for Learning + Interaction:
TouchThinkLearn [by Xavier Deneux]: colors, numbers, opposites, shapes*
Orla Kiely: Colors, Numbers, Shapes, Creatures
Follow the Line [Counting]
Little Pear Tree - flaps to lift, simple words


*I just recently came across these fabulous board books last week and fell in love. I started with numbers and then after seeing how much Olivia loved paging through it and touching each page, I got her shapes. They are filled with raised die cuts that fit into cut outs to teach a child all about each topic. The illustrations are phenomenal & they are unlike any book I've ever seen. V enjoys them so much that I plan to get opposites & colors soon. They are so modern and simple but seem to really get a baby thinking and exploring. Olivia sits in her chair and flips through these and just has a hoot!

Favorite Alphabet Books:


Our Favorite Bedtime Books
Goodmorning, Goodnight! [Touch & Feel]

What are your child's favorite books? 

Back to Top